
Concrete Finishes
Get a Quote For Your Project
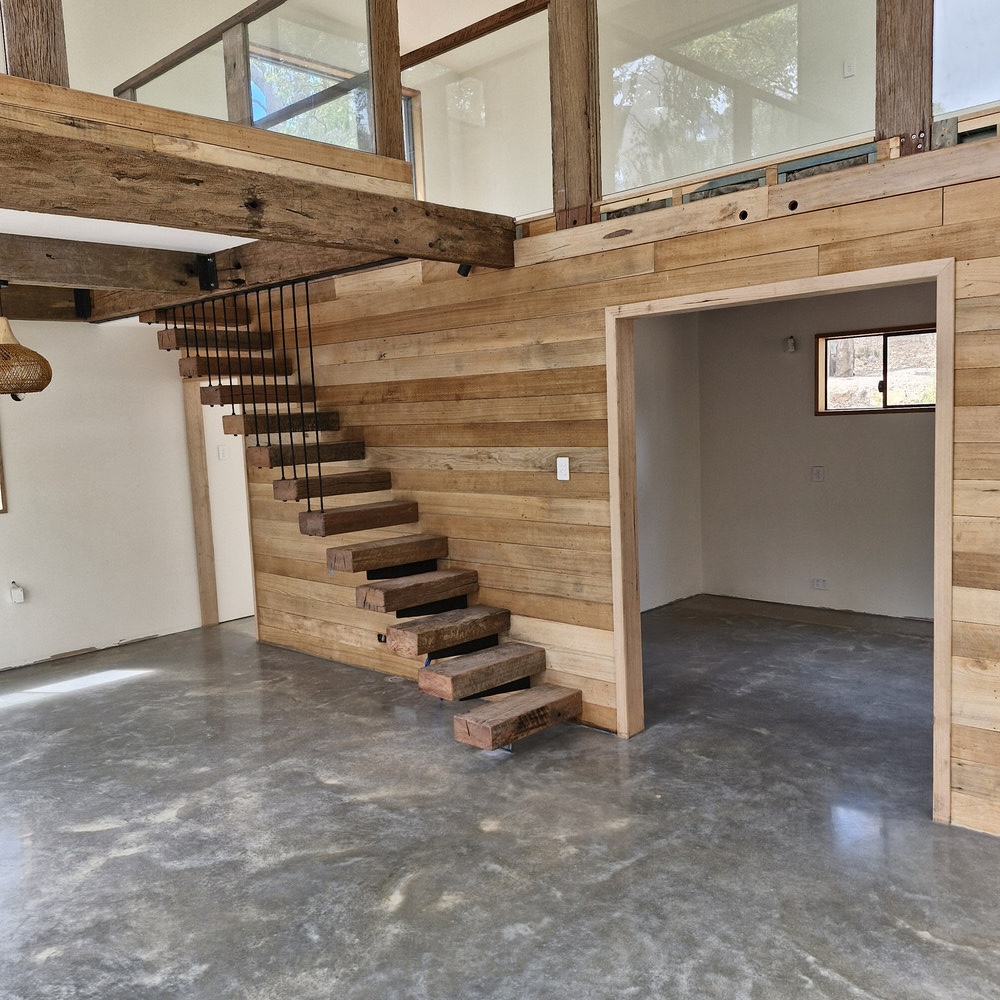
Burnished Finish
Also known as surface polished, this finish showcases the beauty of concrete highlighting natural textures and variations withing the slab, giving each floor its own character, definitely the most popular choice among our customers
Available for new Builds or after hand over houses (project builders)
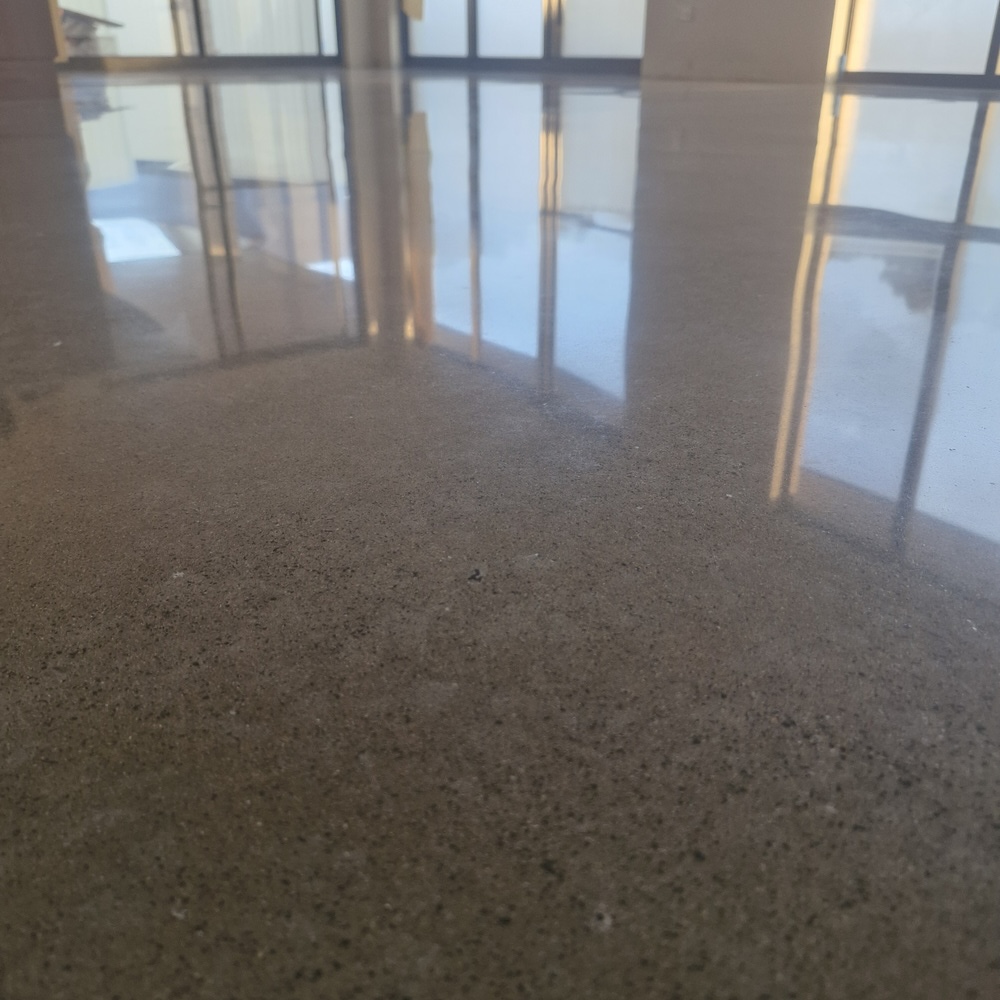
Salt & Pepper (Architectural) Finish
This finish provides a more consistent look across the floor, often revealing the fine tips of the aggreagate within the slab (hence the name salt and pepper) depending on how the slab was poured, subtle variations in texture may still appear across the floor
Available for new Builds or after hand over houses (project builders)
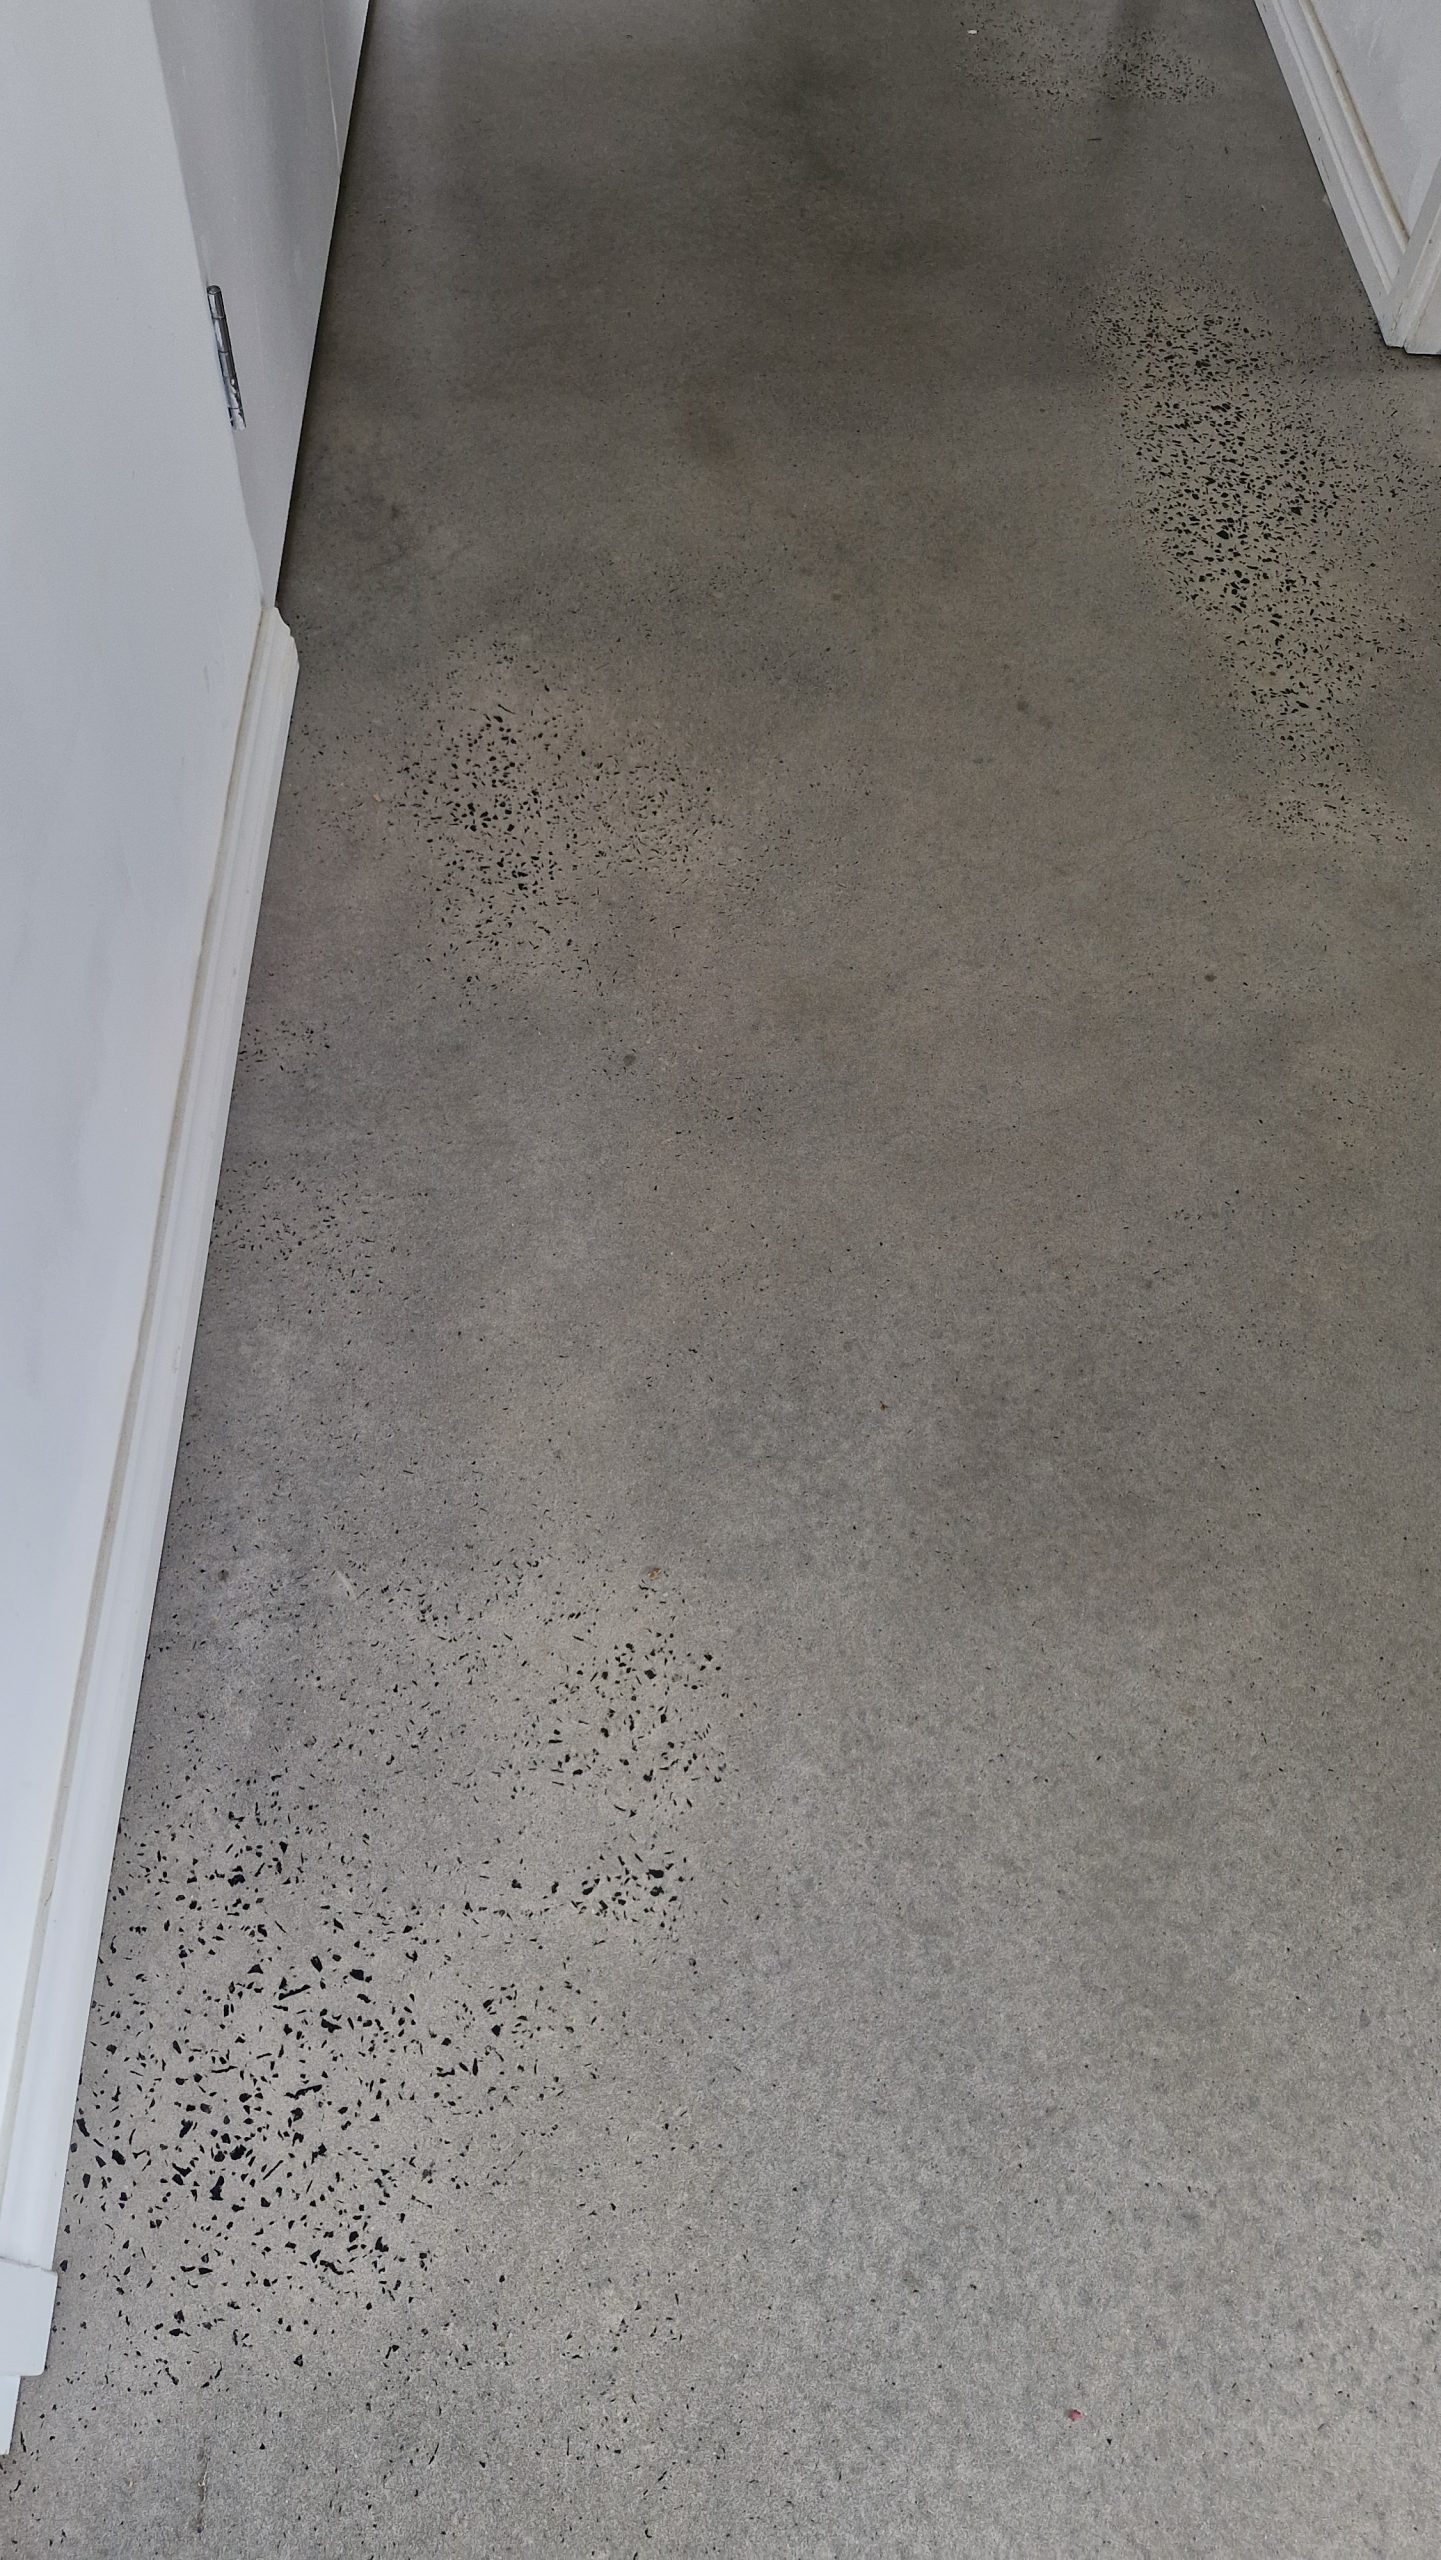
Random Exposure Finish
A heavier grind is done to flatten the slab surface, this usually produces random amounts of stone in the concrete (high areas of the slab usually present more stone and low sections not so many, hence the name Random) most popular among renovation jobs.
Available for new builds and after hand over floors (project build)
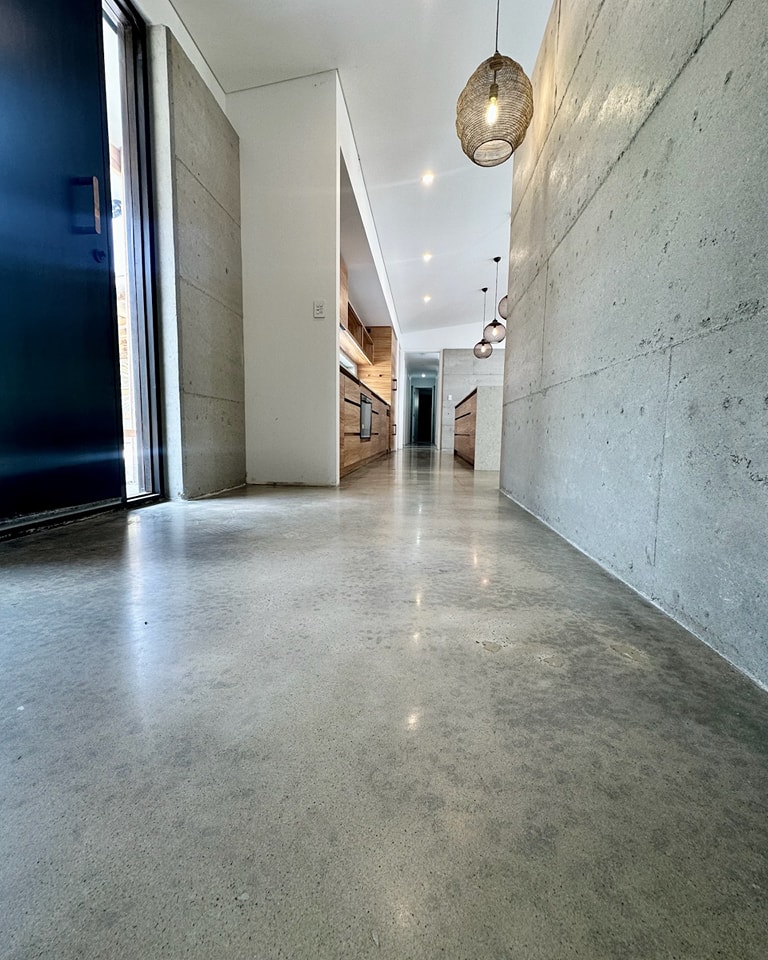
Full Exposure Finish
Also known as full stone exposure, this finish reveals the complete aggregate within the slab for a bold, premium decorative look. Colour and shine can vary depending on your concrete mix.
Available for new builds where project builders approve polished concrete; special or decorative mixes recommended.
How it Works
- Grinding (Coarse): Heavy machines with coarse diamond-embedded metal pads cut away the top layer of concrete to remove imperfections and reveal the underlying aggregate (stones).
- Densification: A liquid chemical hardener (densifier) is applied. It reacts with the concrete to close microscopic pores, permanently hardening the surface.
- Polishing (Fine): The floor is buffed using finer, resin-bonded diamond pads (starting at 50-grit up to 3,000+ for a mirror finish).
- Sealing: A penetrating sealer or guard is applied to make the finished surface impervious to spills, stains, and dust.
Preparation Required
- Clear the Space: Completely empty the room, including all furniture, appliances, and fixtures.
- Remove Old Coverings & Adhesives: Eliminate any existing carpet, tile, linoleum, or paint. Carpet tack strips and protruding nails must be removed or cut flush to the slab.
- Deep Clean: Sweep and vacuum the floor, and use a concrete degreaser to remove stubborn oil, grease, or dirt stains.
- Repair Cracks: Fill deep holes, chips, or expansion joints with an epoxy patching compound.
- Test for Moisture & Hardness: The slab must be fully cured (at least 28 days old). Professionals will often do a moisture test to ensure the sealer will not fail.
- Protect Adjacent Areas: Tape off walls, baseboards, and surrounding cabinetry with protective plastic sheeting to contain the dust generated during the aggressive grinding phases.
Call for A Quote
+61 413 744 411